Federated Authentication in Sitecore 9 using ADFS 2016
In one project, we had an opportunity to explore federated authentication in Sitecore 9 using Active Directory Federation Services (ADFS). We used Sitecore 9 deployed as Microsoft Azure PaaS, and we set up Windows Server 2016 virtual machine in Azure as ADFS server. ADFS 2016 fully supports OpenID Connect authorization protocol and we decided to test it. Here are the steps you need to do, to make it work.
ADFS Configuration
On Windows Server, from server manager open ADFS Management Console (Tools -> AD FS Management).
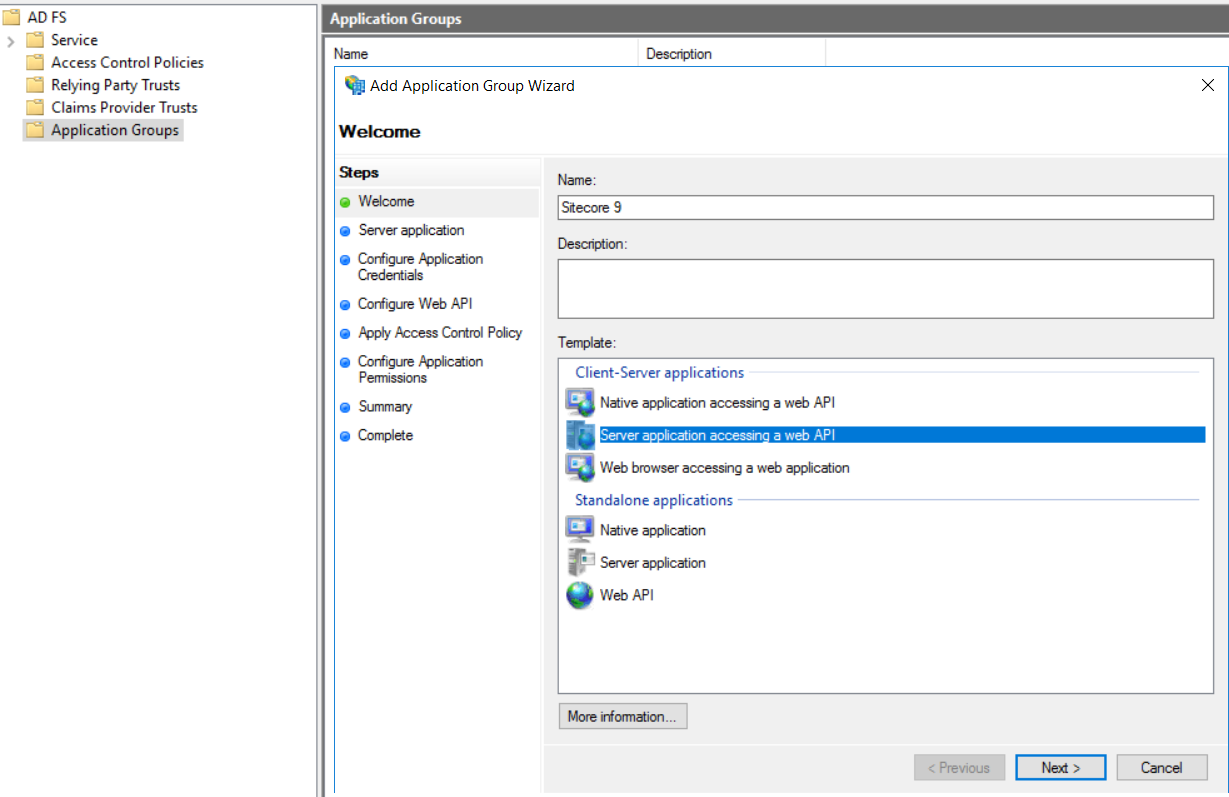
- Right click on Application Groups and add new application group.
- In the first step of Add Application Group Wizard, enter the name of the group, description and for the template choose Server application accessing a web API, and click Next.
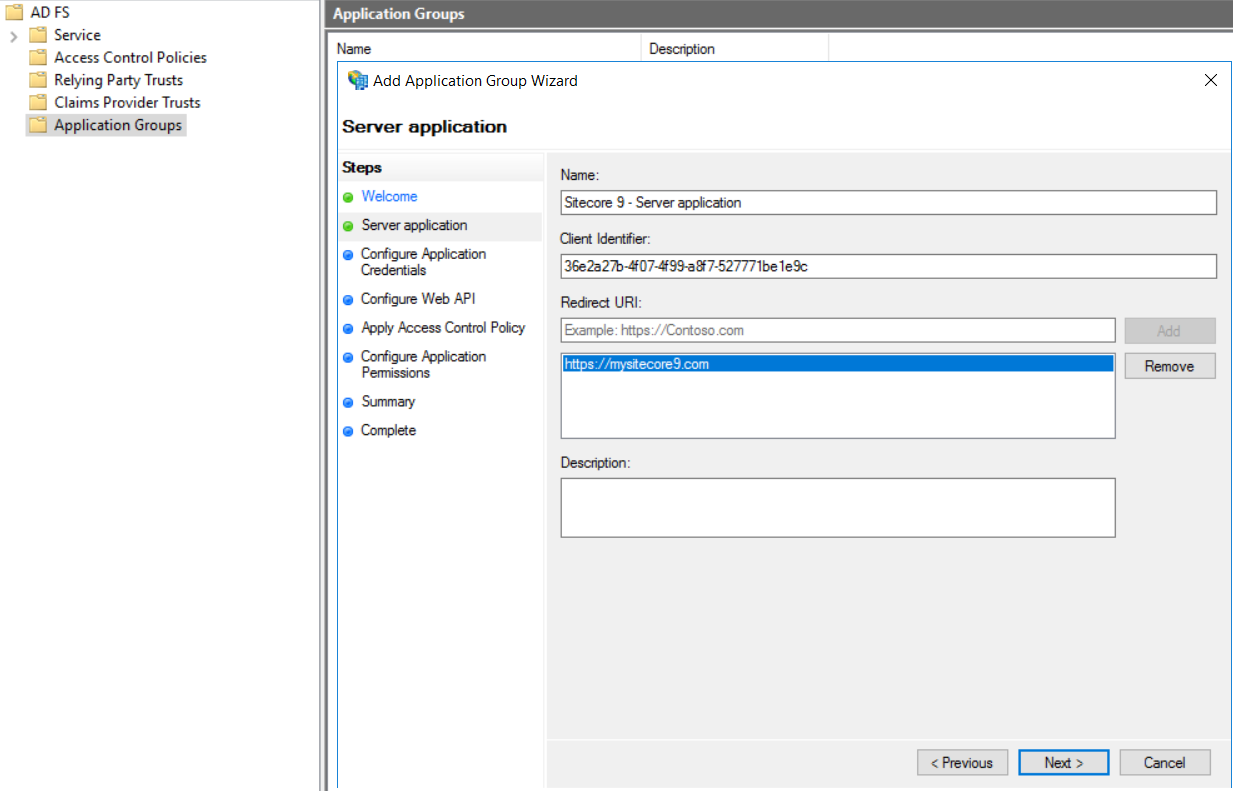
- On Server application tab, enter the Redirect URI of your Sitecore CM instance and add it to the list. Note the Client Identifier that was generated. It will be used later.
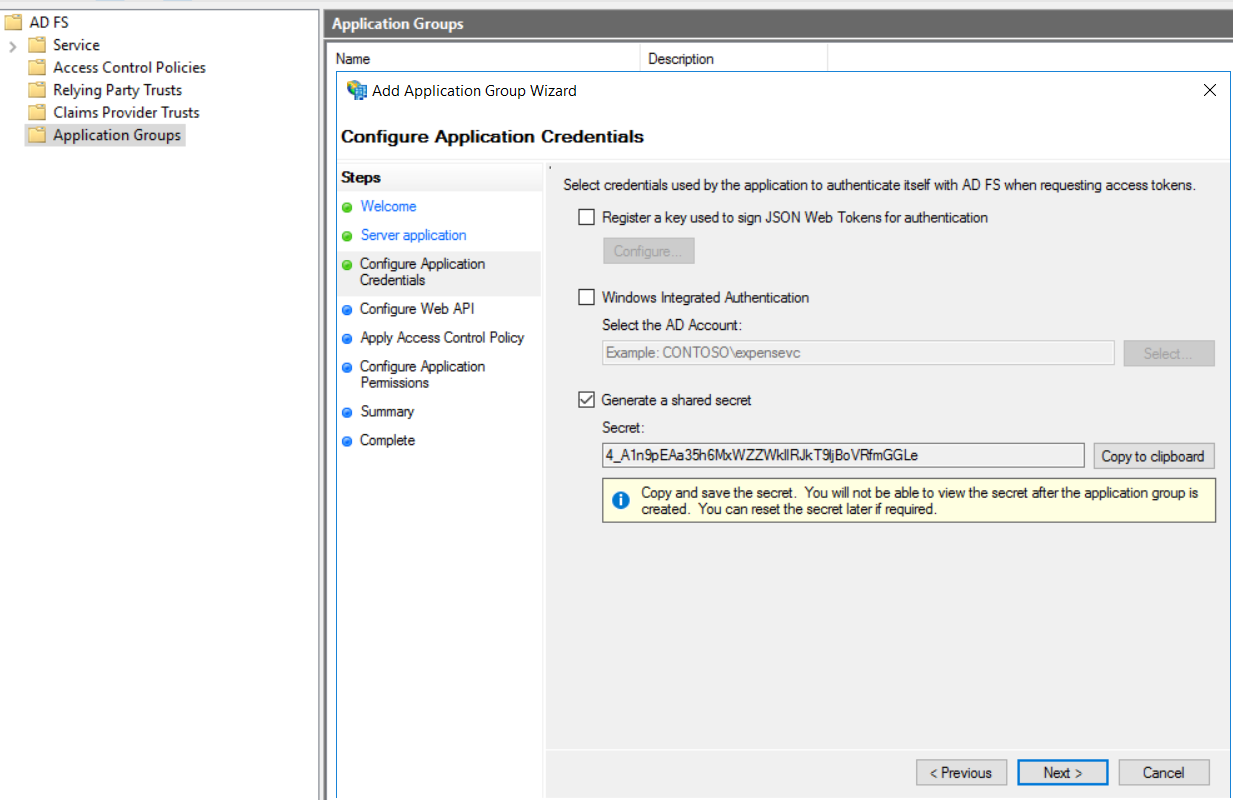
- On Configure Application Credentials tab, choose Generate a shared secret. Copy the secret and save it, because you will not be able to access it anymore. However, this secret will not be required for the rest of configuration process and will not be used in Open ID authentication.
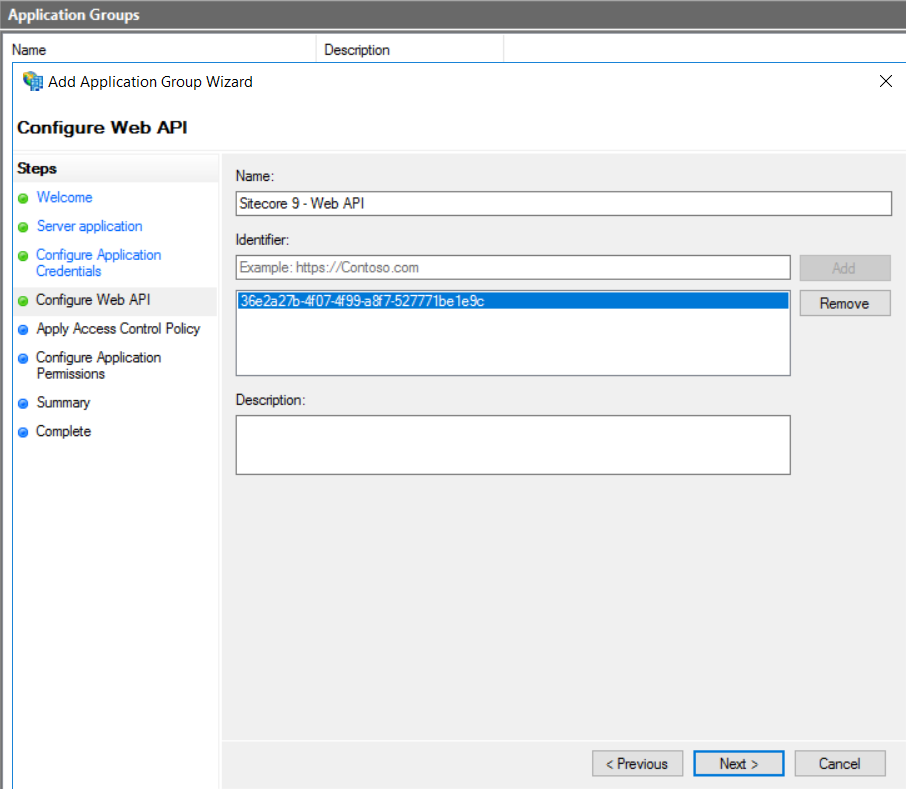
- On Configure Web API tab, for Identifier enter the same Client Identifier that was generated in step 2.
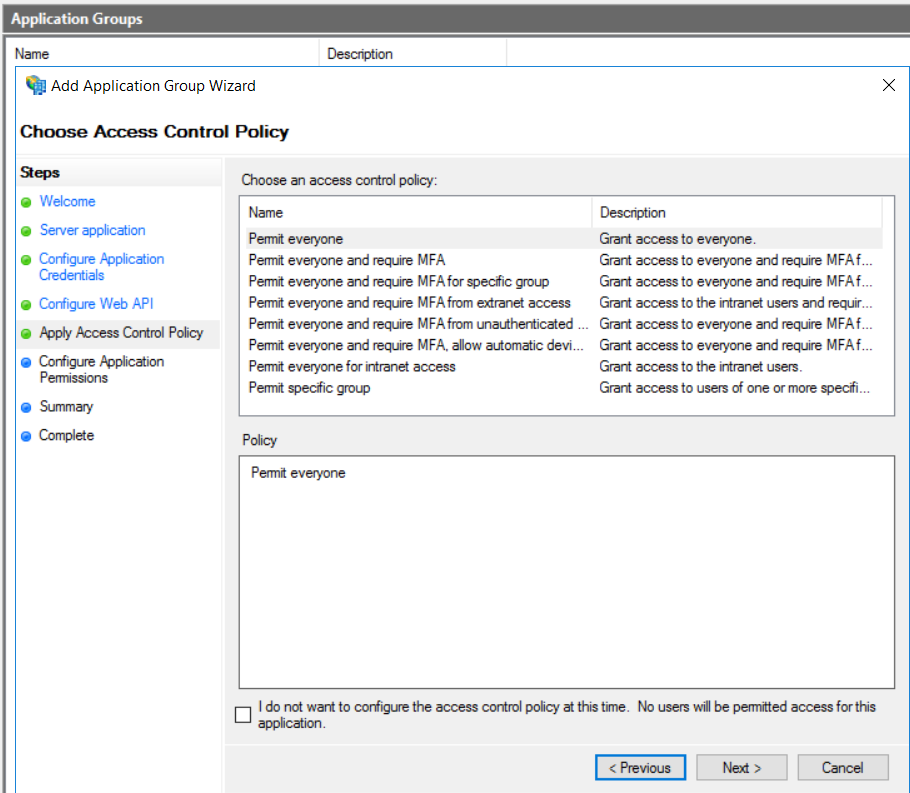
- On Choose Access Control Policy tab, don't change anything. The Policy should be "Permit everyone".
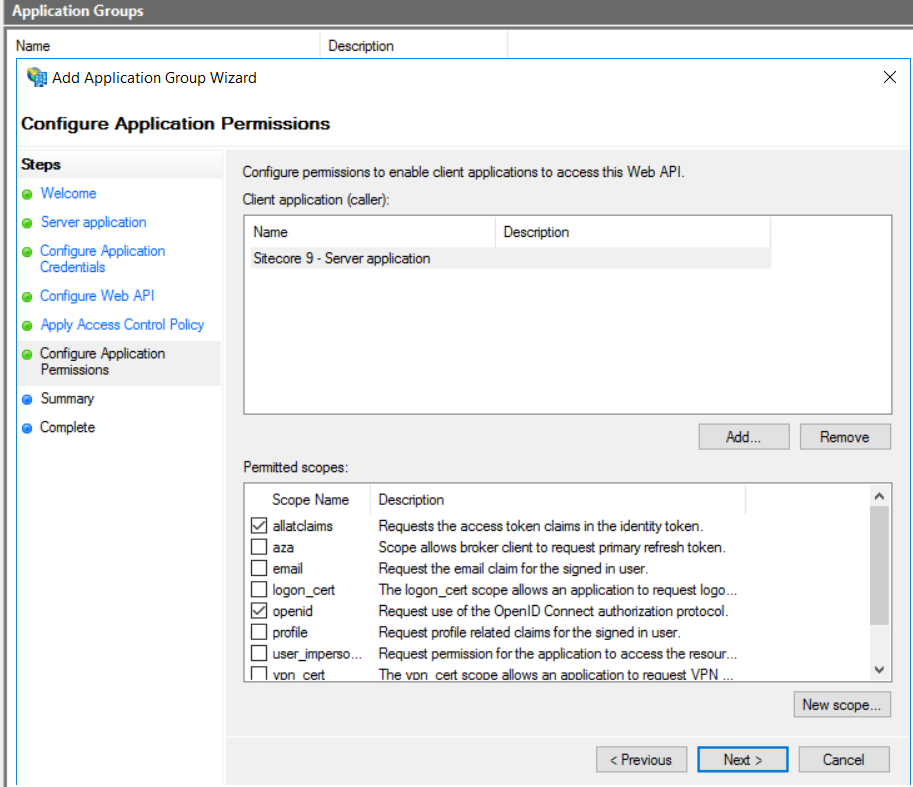
- On Configure Application Permissions tab, add openid and allatclaims to Permitted scopes.
- Review the Summary screen and complete the configuration.
Customize claims to send Active Directory Attributes
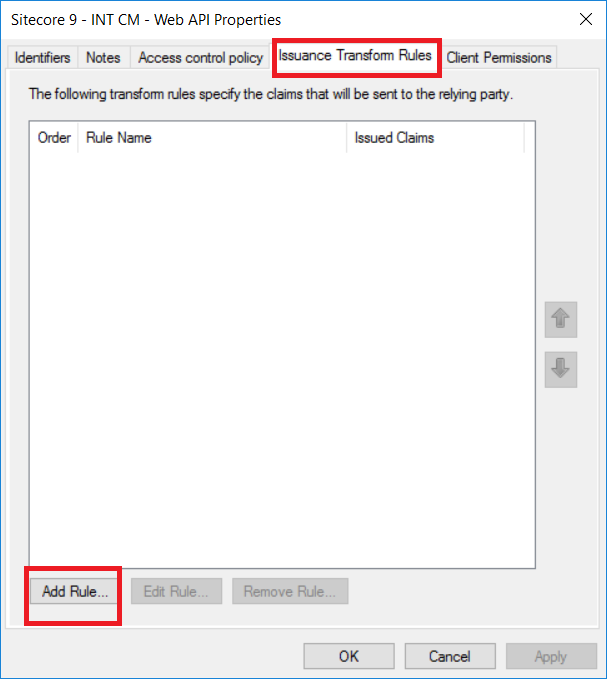
From the ADFS Management Console, go to Application Groups and open the properties of previously created application group. Select Web API application and click on Edit. Go to the Issuance Transform Rules tab.
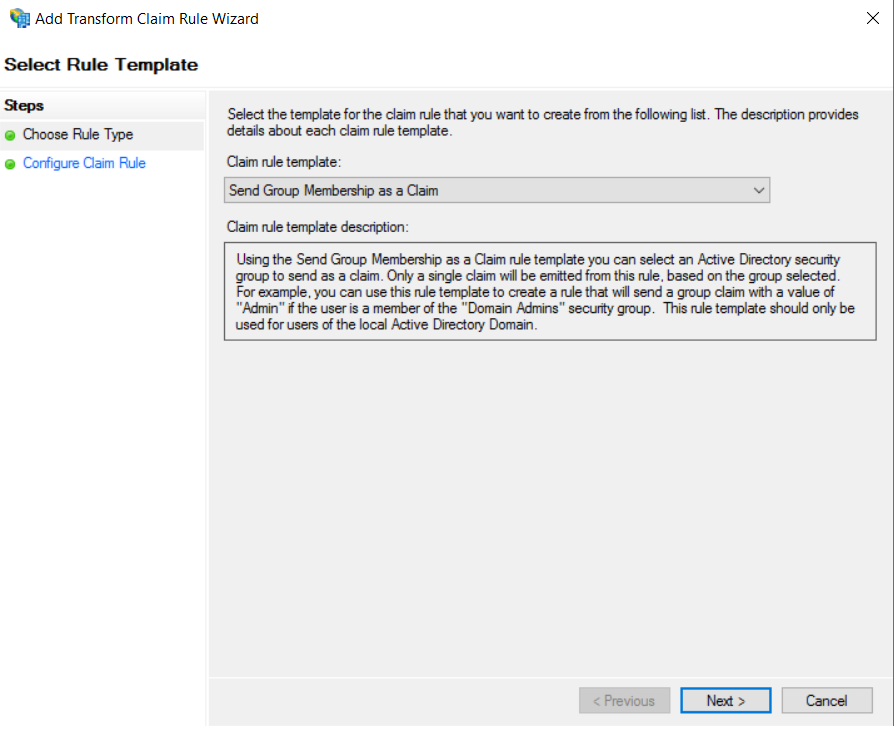
To send Active Directory group as a claim:
- Add new rule, and for the Claim rule template choose Send Group Membership as a Claim
- On the Configure Rule tab, enter the name for the rule, browse for the Active Directory user group you would like to send as a claim, and define the outgoing claim type and value.
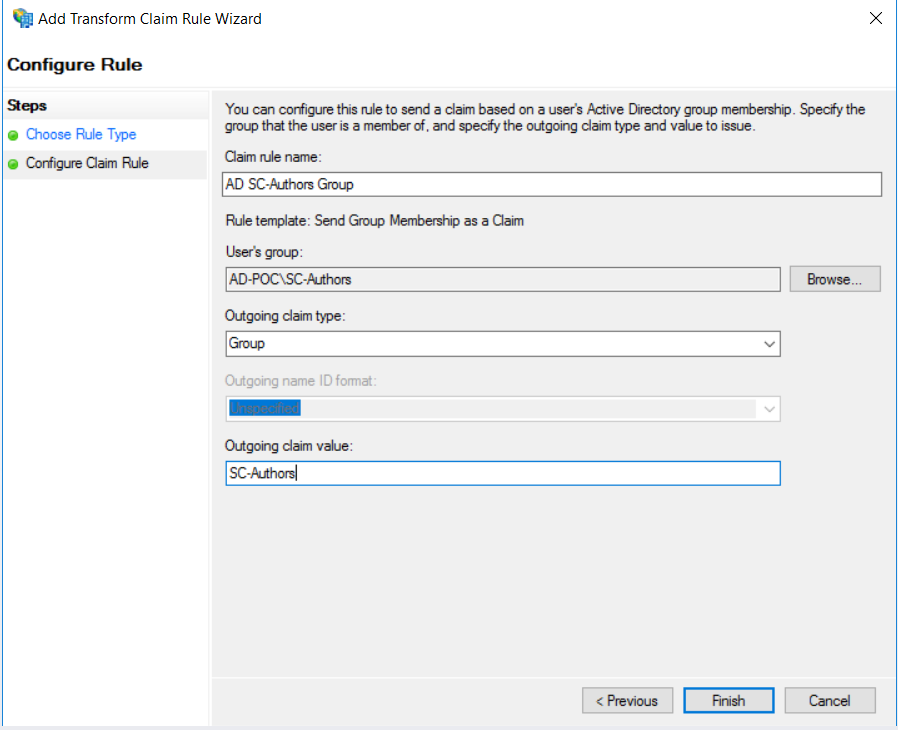
- Click Finish to complete the Wizard.
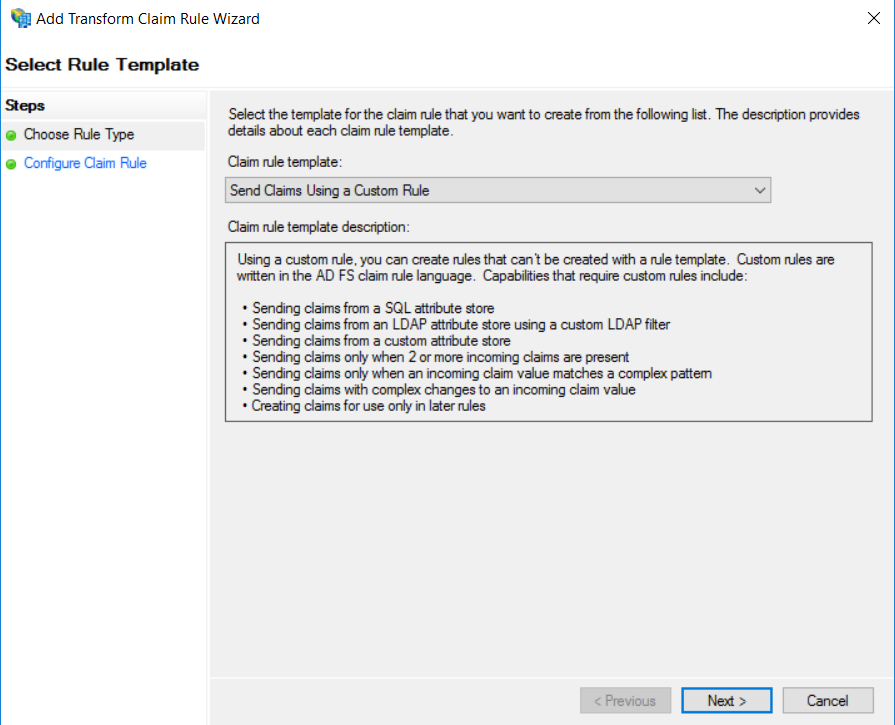
To send country, location, email address, department and user's display name:
- Add new rule, and for the Claim rule template choose Send Claims Using a Custom Rule
- On the Configure Rule tab, enter the name for the rule, and for the Custom rule add:
Sitecore Configuration
- On your Sitecore server, go to \App_Config\Include\Examples folder of your Sitecore instance. Copy Sitecore.Owin.Authentication.Enabler.config.example file and paste it to \App_Config\Include\Custom folder (or it's appropriate subfolder). Remove the .example extension. This config file enables federated authentication.
- Add a custom patch configuration file to \App_Config\Include\Custom folder (or it's appropriate subfolder), to include your other federated authentication configurations:
Here are the explanations of various sections of the file:
- configuration/sitecore/settings:
- ClientId - The client identifier of your registered Sitecore application in ADFS
- ADFSDiscoveryDoc - url of ADFS open id endpoint
- PostLogoutRedirectURI - Sitecore logout page
- RedirectURI - the page the user should be redirected to after login
- configuration/sitecore/pipelines/owin.identityProviders/processor - the type of the processor to use for authentication. This processor will be explained later.
- configuration/sitecore/federatedAuthentication/identityProviders/identityProvider
- id - choose the id for identity provider (e.g. ADFS). This id will be referenced later in config file and in the custom processor as well.
- caption - the text that will be displayed on identity provider button on Sitecore login page.
- domain - sitecore domain (sitecore).
- icon - the icon for identity provider button.
- configuration/sitecore/federatedAuthentication/identityProviders/transformations - contains transformations that are needed for authentication process.
- Idp Claim - defines the identity provider claim that will be sent from ADFS during authentication process.
- Transform to Sitecore Author Role - transformation of ADFS role to sitecore\Author role.
- configuration/sitecore/federatedAuthentication/propertyInitializer - contains mappings from ADFS user data to Sitecore user properties.
- Add the following nuget packages to your Visual Studio solution:
- Microsoft.Owin.Security.OpenIdConnect
- Sitecore.Owin
- Sitecore.Owin.Authentication
- Add a class for custom identity provider processor to your Visual Studio solution:
- The class must be named the same as in the section configuration/sitecore/pipelines/owin.identityProviders/processor of custom patch configuration file (e.g. CustomADFSIdentityProvider).
- The class must inherit from Sitecore.Owin.Authentication.Pipelines.IdentityProviders.IdentityProvidersProcessor.
- IdentityProviderName used in the class must be the same as identity provider id from the config file (e.g. ADFS).
- The class must override the ProcessCore method.
- If you don't have a valid SSL certificate for your ADFS server, you won't be able to authenticate your Sitecore with ADFS. Add this line to the constructor of the CustomADFSIdentityProvider to enable authentication with invalid ADFS certificate:
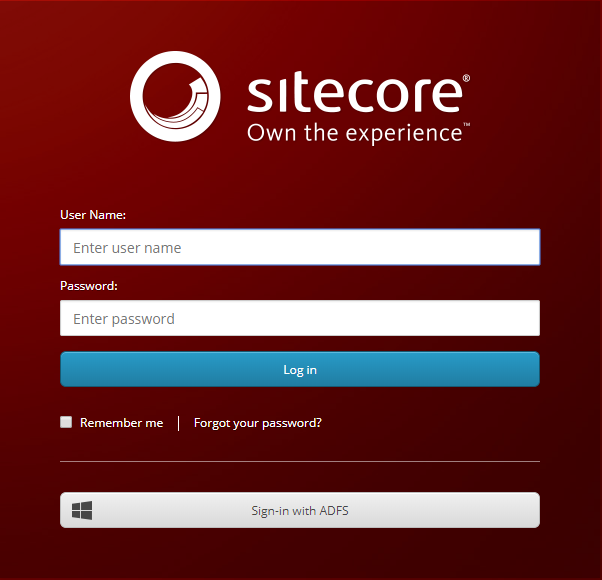
After all this, go to he login screen of your Sitecore instance. Below the standard username and password fields, there should be a new button with the caption "Sign-in with ADFS". Click on this button will start the federated authentication process with ADFS.